WanMask Guide
In this guide, we will explain how to use WanMask, the browser extension wallet on Wanchain.
WanMask is a free and secure browser extension that allows web3 applications to read and interact with the Wanchain blockchain. It is almost identical to MetaMask, if you are already familiar with MetaMask, you can probably skip this guide.
How to create a wallet with WanMask?
In this section, we explain how to install and create a new wallet with WanMask.

1. Install WanMask on your browser
To create a new wallet with WanMask you need to install the extension first.
You can install WanMask for Chrome, Brave and Opera browsers from the Google Chrome web store
Click on ‘Get Chrome Extension’ and then ‘Add to browser’

Click ‘Get Started’
In the next screen, you can either import a wallet or create a new one. For this guide, we will create a wallet. It’s also possible to import a Wanchain wallet you already created by seed phrase.

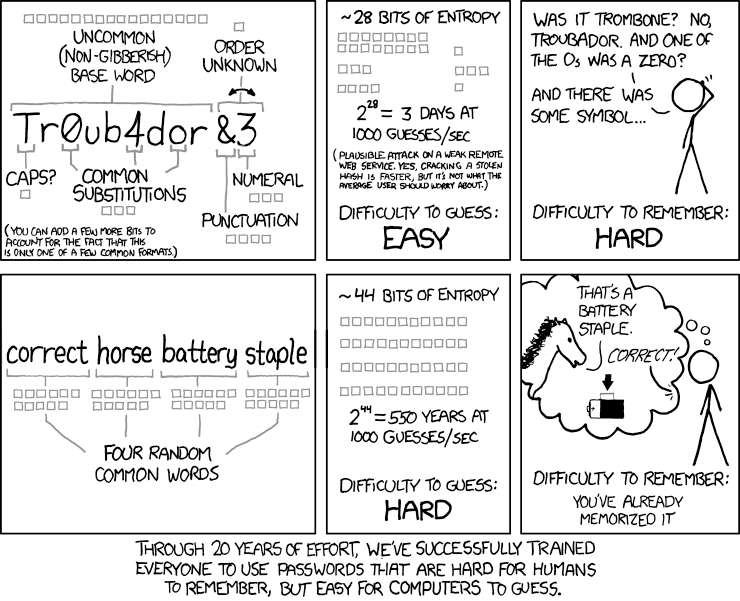
Create a strong password and accept the terms of use. We recommend you follow best security practices by using a secure encrypted password manager such as LastPass, or at least make sure to follow XKCD’s famous password advice on making a password which is easy to remember but hard for computers to crack:

In the next step you need to write down your seed phrase. Never disclose your seed phrase, anyone with this phrase can take your assets permanently! Click on the box to reveal the words. Write down the words in the order they are presented. When you’re done, click ‘Next’.

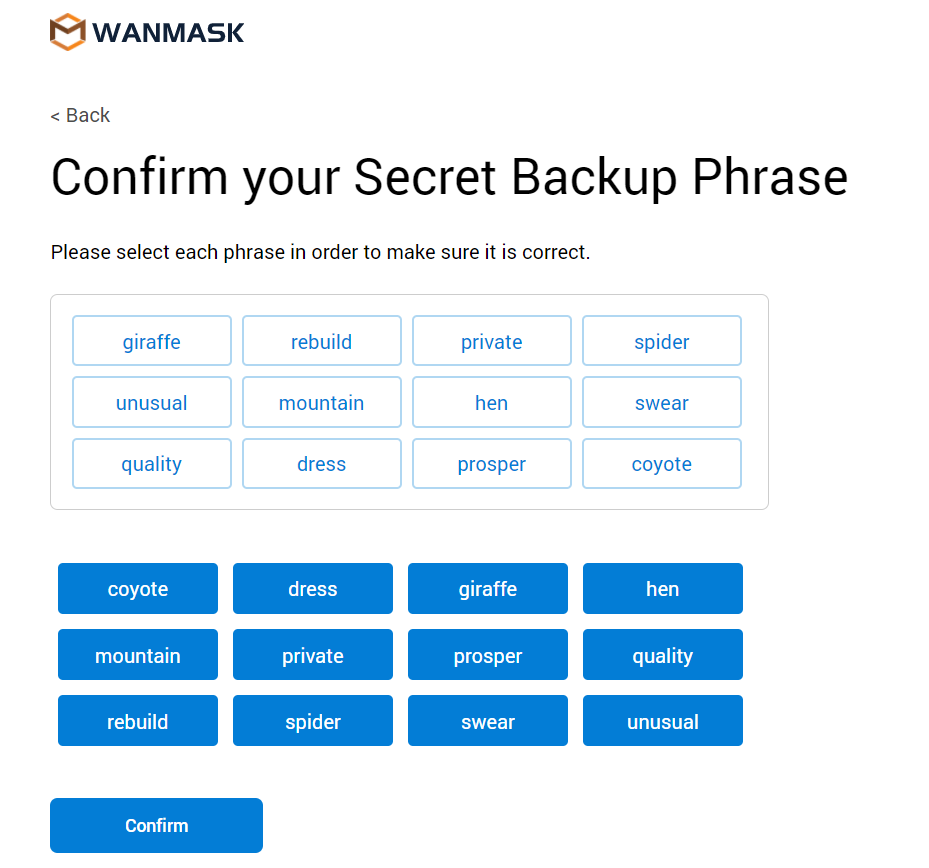
Click on the words presented in the same order as you wrote them down. This is an extra step to make sure you wrote down your seed phrase. When you are done, click ‘Confirm’. Be certain to secure your seed phrase in a safe location offline.
Congratulations! You have successfully created a wallet for WanMask. In the next section, we will explain how to use it:

How to use WanMask
You can use WanMask with Web3 applications on WanChain like WanSwap and WanBridge. Additionally, you can use it for sending normal WAN and WRC20 transactions.
The interface:

“Account”
You can click on your account name to copy your address to the clipboard.
“Send”
You can use this to create a transaction. Put in the recipient's address first. After that, you can fill in the details. More on this later in this guide.
“Add Token”
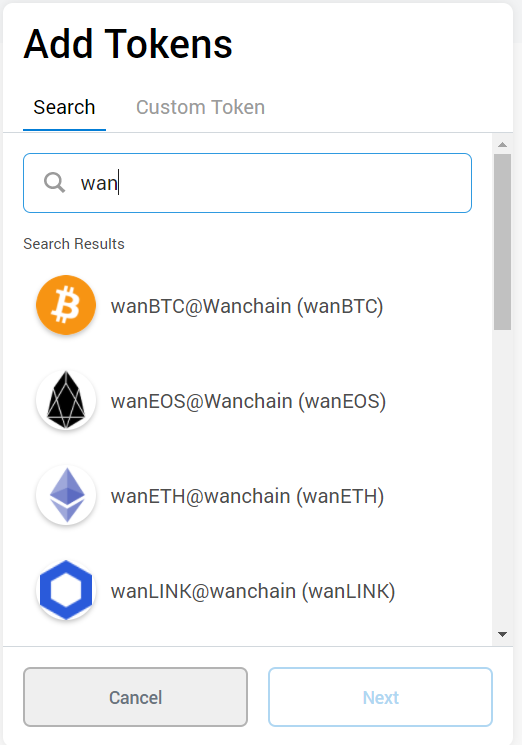
Here you can add other WRC20 tokens. You can either add them by searching for the name of the token or by searching the address of the token. After selecting the token, click ‘Next’ and confirm on the next page. The token and balance will now be visible in assets. When adding a token by address directly, make certain that you got the address from a trusted source!! Anyone may issue a token with any name on Wanchain, so don’t let yourself be fooled!
“Assets”
Here you can see your balance of each token.
“My Accounts”
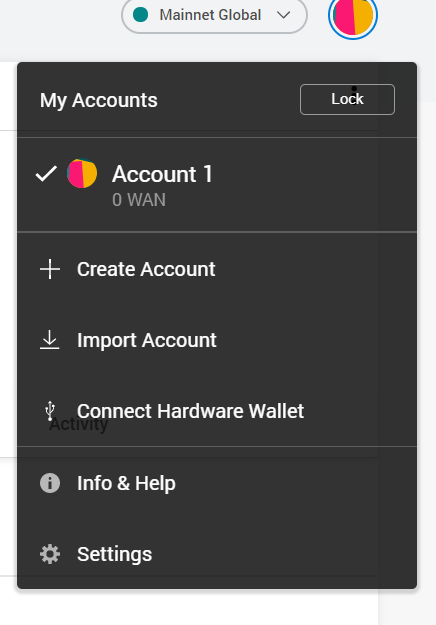
When you click on the icon in the top right you can view your accounts, add accounts, add a hardware wallet and go to “Settings”.
Connecting Hardware Wallet
WanMask supports Ledger and Trezor wallets. You can add them by clicking on “Connect Hardware Wallet”, and following the steps provided. Make sure your wallet is connected to your computer and that it’s set up with a Wanchain wallet before you do this. See our guides for setting up Ledger and Trezor for Wanchain.

“Settings”
In settings, you can customize WanMask. We will go through some of the settings here.

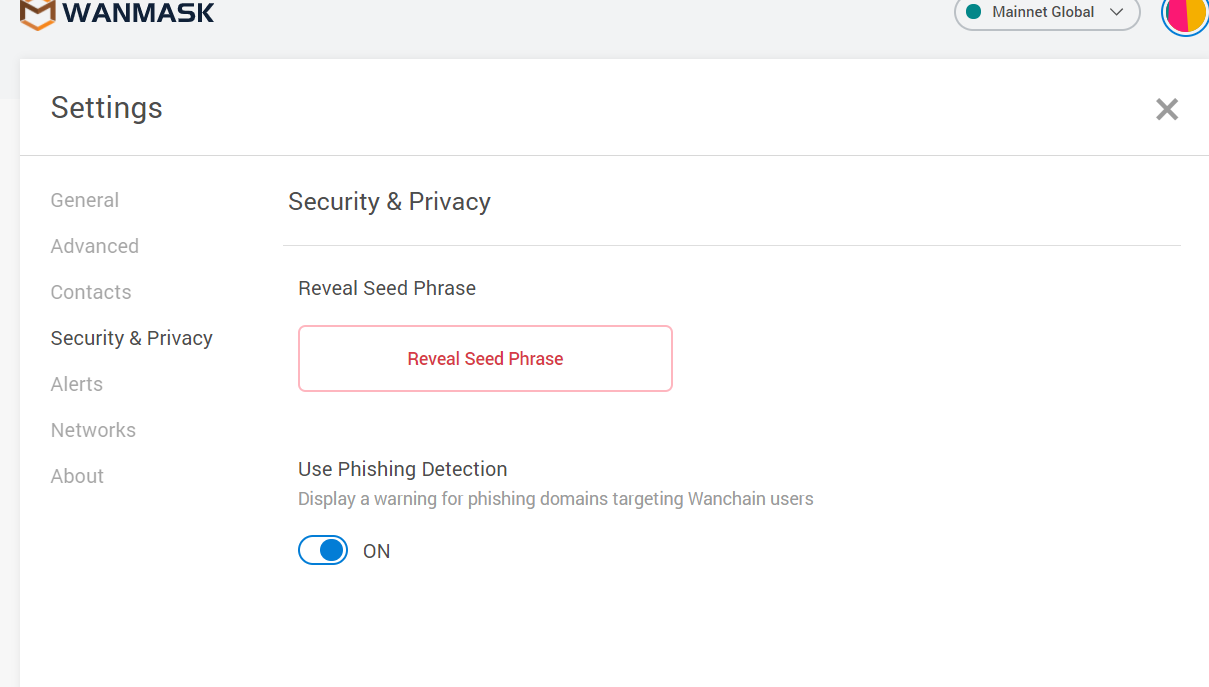
“Security & Privacy”
Here you can reveal your seed phrase if you lose it.
“Advanced”
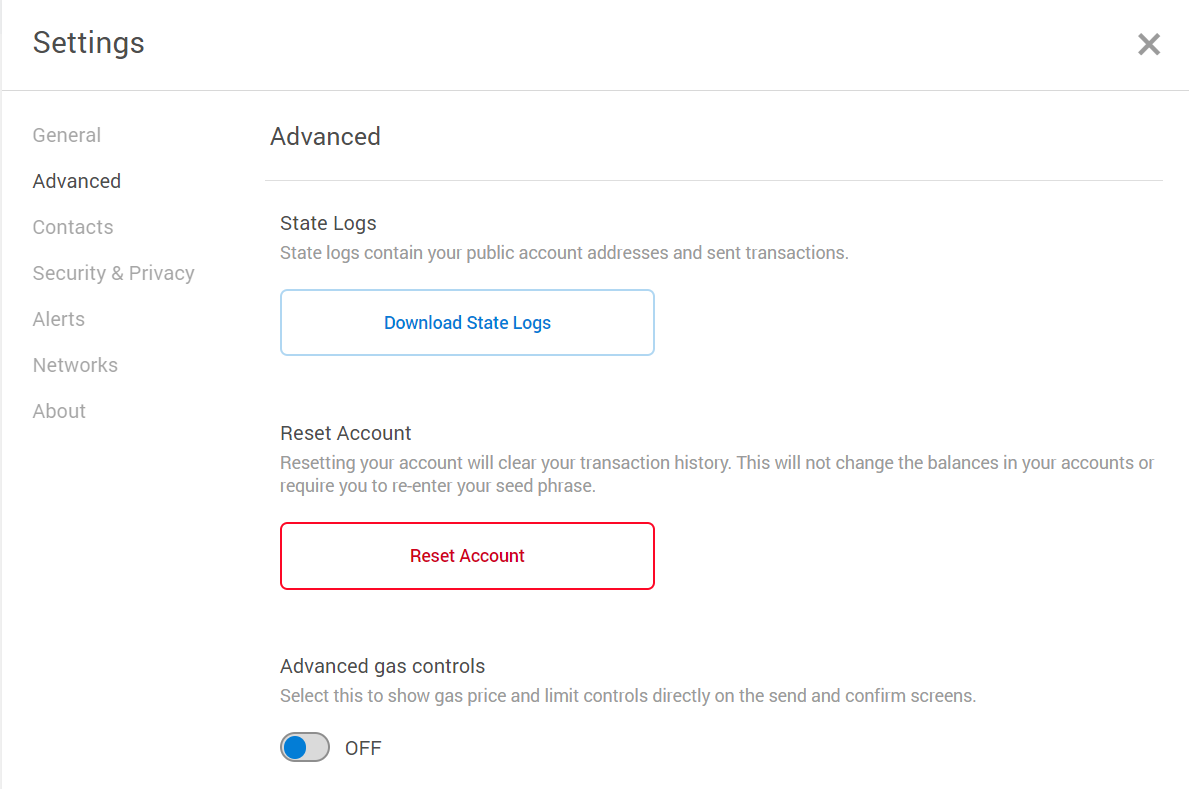
In “Advanced”, you can reset your account, this will clear your transaction history.
You can also enable advanced gas controls, which gives you more options over how you set up your transaction. Use this with caution! If you’re not careful, youi could end up spending your entire balance on gas!! (Like this guy who spent over 100 thousand USD for gas on a single transaction…) You also need to switch on each option for the advanced gas controls separately.
The options are:
Transaction Time
Show Hex Data
Show Conversions on Testnet
Customize Transaction Nonce
Auto-Lock Timer
The last option in advanced is Auto-Lock Timer, here you can set the idle time after which WanMask will become locked.
Transactions
In this part of the guide, we will go into detail on transactions.
Making a custom transaction
Click on ‘Send WAN’ on the main interface. Put in the recipient's address and fill out the amount you want to send and click ‘Next’.

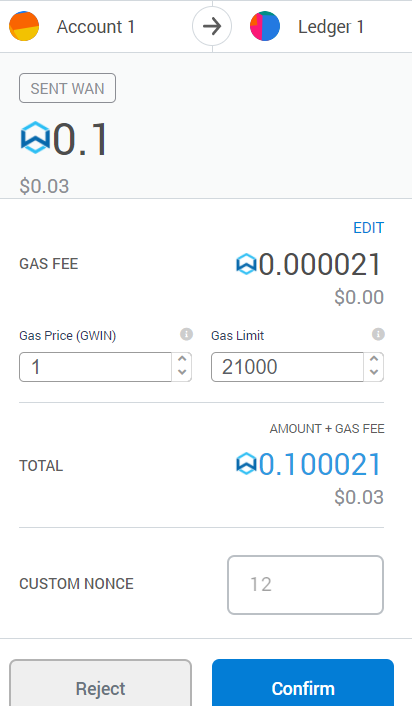
On the next screen, you can edit the gas price and limit. Normally these should be fine like they are. If you want to speed up your transaction you can edit them. You need to enable advanced gas controls in settings to do this. If you don’t want to do this click “Confirm” to process your transaction and you are done. More information on editing the transaction next.
Customize gas fees
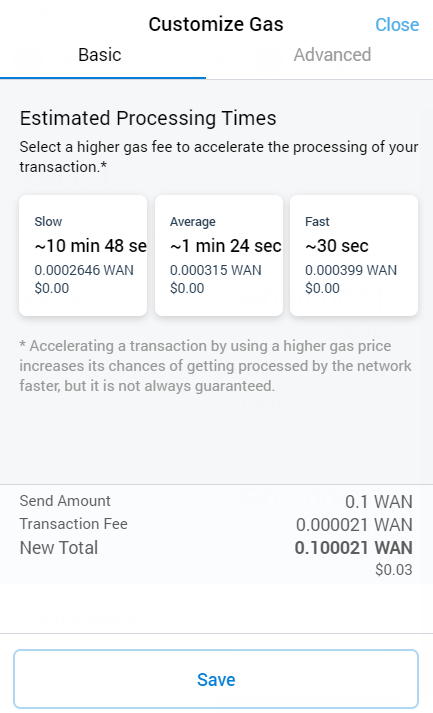
If you click ‘Edit’ on the gas fees you get two options, ‘Basic’ and ‘Advanced’. In the basic screen, you can choose between 3 options: slow, average, and fast.
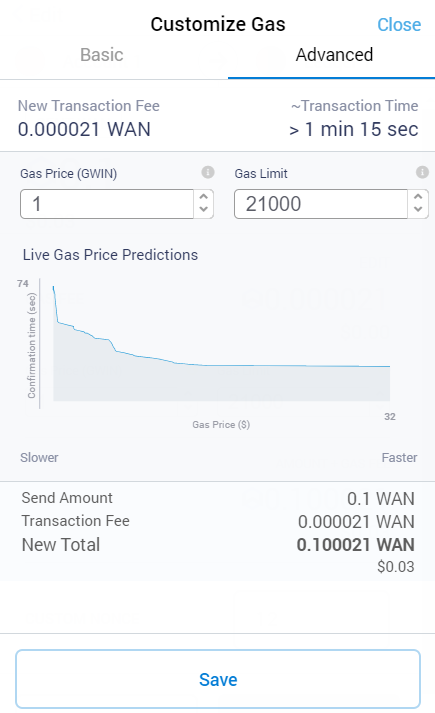
In the advanced screen, you can edit the gas fees manually and see live gas price predictions. Like we mentioned above, be very careful when manually entering gas fees as it is easy to make a mistake and spend way more than you intended — like thousands of dollars more sometimes!!! (Although that is very unlikely on Wanchain)
Using WanMask with web3 applications
As said before you can use WanMask with Web3 applications like WanSwap and WanBridge. To do this, go to the website of the application and connect your wallet (you will see the option on the website). By doing this you can use your wallet with this site.